|
Fly of
the Month
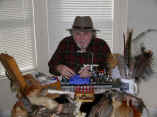
Bob Ireton brings together his
experience in fly fishing, aquatic entomology, and knowledge of fly
tying techniques and materials, to design and tie durable and
effective flies.
|
|

Volume 6, Issue 6
JUNE 2005
GRAY DUSTER
Fly, Text, and Photography by Bob Ireton
I recently was reading ‘A Dictionary of
Trout Flies’ written in 1949 by A. Courtney Williams of England. He
couldn’t say enough about this pattern. Attempting to condense his
thoughts, he says, “My first introduction to this most excellent fly was
on the Alwen, which runs into the Dee. The locals said that it was the
only pattern needed. That day it accounted for nine out of ten trout
taken. Since then this pattern, which is always fished dry, has always
given me some splendid sport on all sorts of rivers, at all times of the
day, and all times of the year. The Gray Duster is one of the best
–perhaps the best- pattern known to me. Certainly it is the only fly
which has nearly tempted me to become a ‘one pattern’ angler.”
This sounded like a pretty good fly
pattern to me. I did notice this pattern does not have a tail.
Obviously, this will cause the abdomen to ride in the water. I tested
this tie in my test tank, and the abdomen does ride below the surface of
the water, which to me, is imitating a ‘cripple’ that emerged, but
couldn’t escape the surface film. Trout hone in on this, and probably
accounts for the great success of this fly.
MATERIALS
HOOK – TMC 100, or equivalent dry
fly hook.
SIZE – 12-14.
THREAD – UNI 6/0 Brown.
BODY – Light Hares Mask hair mixed with a little blue super fine
dry fly dubbing.
HACKLE – Badger dry fly neck feather.
TYING STEPS - click on
pictures for larger view
|
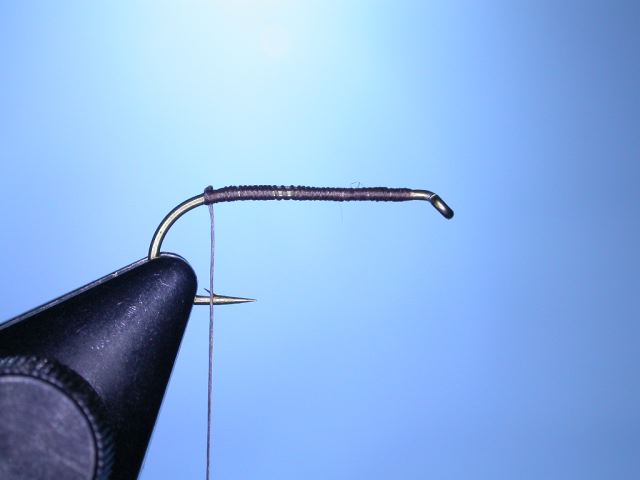
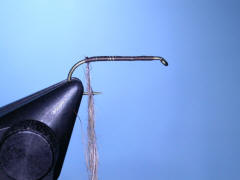
1 – Place the hook properly in the vice. A
good hook will probably have a ‘micro barb’. If not, please mash down
the barb. Attach the working thread behind the hook eye, and lay on a
thread base extending to a point above the hook barb. Tie a half hitch. |
 |
|
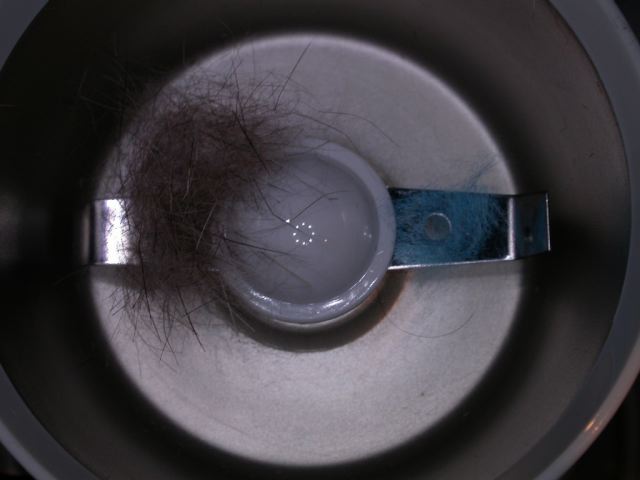
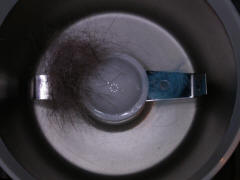
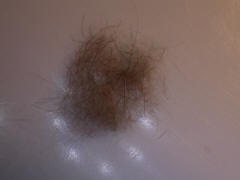
2 – Place some light Hares Mask hair, and a
small amount of blue dubbing, in the dubbing blender. I use a spice mill
for this. Mix thoroughly. If you don’t have a spice mill, just mix by
hand. |
 |
|
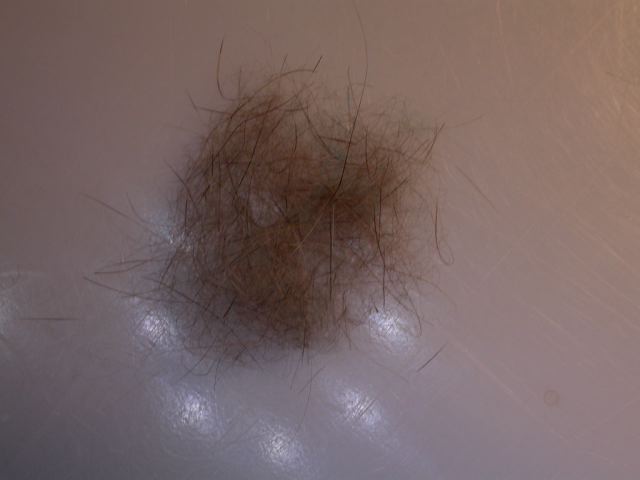
3 – This is what the dubbing mix should look
like. |
 |
|
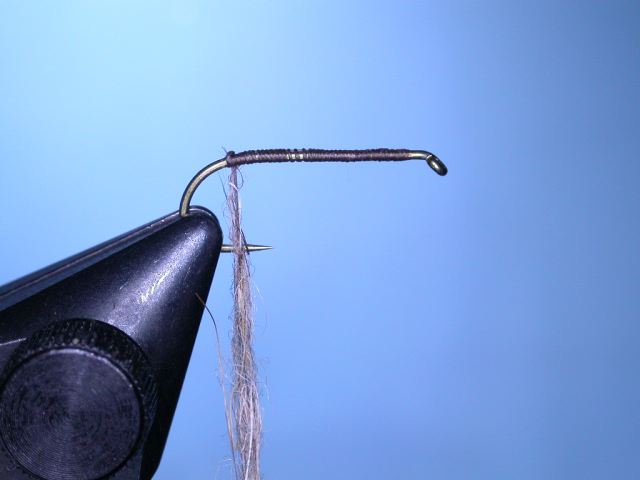
4 – Rub a small amount of dubbing wax on the
thread. Spin the dubbing on the thread to form a dubbing rope. Remember,
spin the dubbing in ‘one’ direction only! |
 |
|
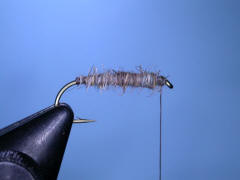
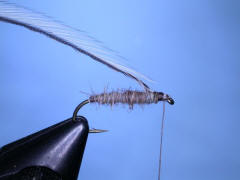
5 – Palmer the dubbing rope forward to form
a slightly tapered body for the fly. Stop a little behind the hook eye,
and tie a half hitch. |
 |
|
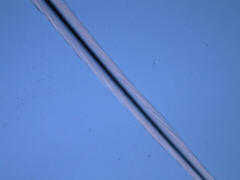
6 – This is a ‘Badger’ hackle feather.
Notice it has white fibers, with a black shaft. The white fibers have a
very narrow amount of ‘black’ adjacent to the shaft. |
 |
|
7 – Tie the hackle feather in by the tip,
behind the eye. Sometimes it gives better results to trim the fibers
from the side of the feather shaft that will touch the hook. Tie in so
the ‘shiny side’ of the feather will face the hook eye. |
 |
|
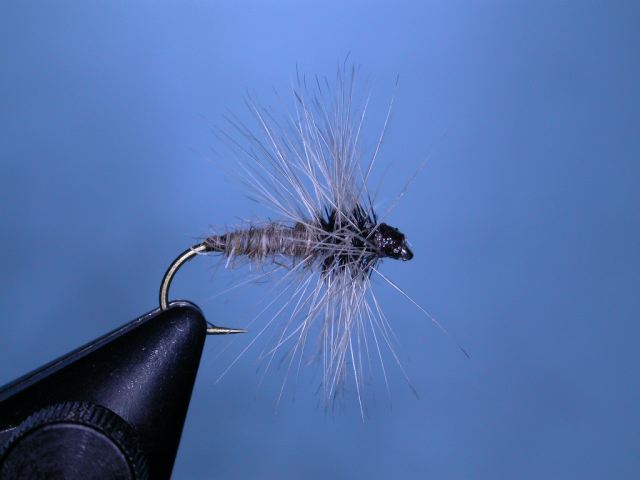
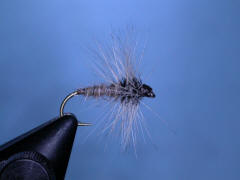
8 – Palmer the hackle forward, using as much
of the feather as possible. As this pattern does not have a tail, the
hackle will be the only support for the fly when it is in the water. Tie
off the feather, form a head, and snip off the excess. Tie a couple half
hitches. Now tie a whip finish. Snip off the working thread, and apply a
little head cement to the head. Do any trimming and/or adjustments
necessary. |
 |
|
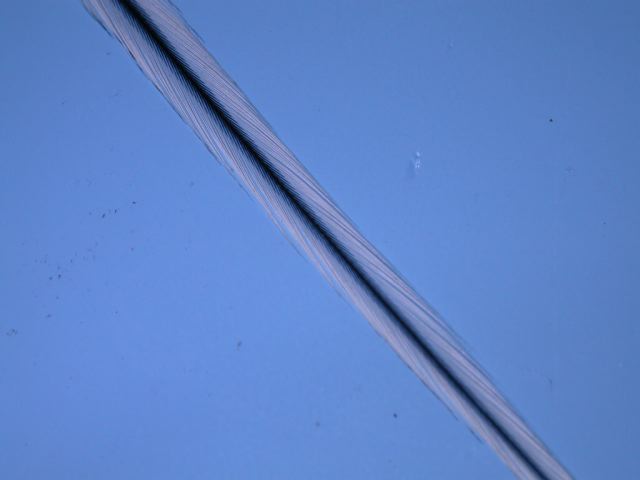
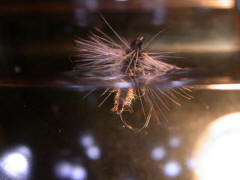
9 – This is what the fly looks like sitting
in the surface film of the water. With no tail to hold up the hook, the
entire abdomen settles below the surface, being supported only by the
hackle. To a fish, this looks like a crippled Mayfly trapped in the
surface. I think this accounts for the great success of this pattern!
|
 |
© 2005 Robert R. Ireton, II
www.buckeyeflyfishers.com
Site designed and maintained by
Panfalone@fuse.net
|